The Ceramic Process

Wedging
Wedging makes the clay more pliable, ensures a uniform consistency, and removes air pockets as well as small hard spots in the clay before I use or reuse the clay for throwing on the wheel. It’s very physical but excellent for keeping upper arms toned.

Throwing
If I am throwing a batch of mugs or jugs I measure out equal clay quantities and create balls of clay ready for throwing on the wheel. The clay is centred on the wheel and then the fun begins.

Drying & Firing
Thrown work then has to be dried ready for the bisque firing - there must be no moisture in the work otherwise it will explode in the kiln!
Pots are loaded and fired in an electric kiln up to 1000 °C – the whole process takes 24 hours.

Glazing
Each pot is dipped in glaze using tongs or the glaze is poured over larger pieces. The bottoms have to be waxed and wiped clean so that they don’t stick to the kiln shelves. I have a variety of glaze colours that I mix and use – as well as the colour compound all glaze contains silica, alumina and flux. It’s a messy and very time consuming process.

Glaze Firing
Pots are loaded back into the kiln and fired up to 1260 °C. This firing takes anything up to 36 hours. Opening the kiln to see if the pots are still in one piece is always tense and to quote Grayson Perry: “a lesson in controlled disappointment”.
The Finished Product
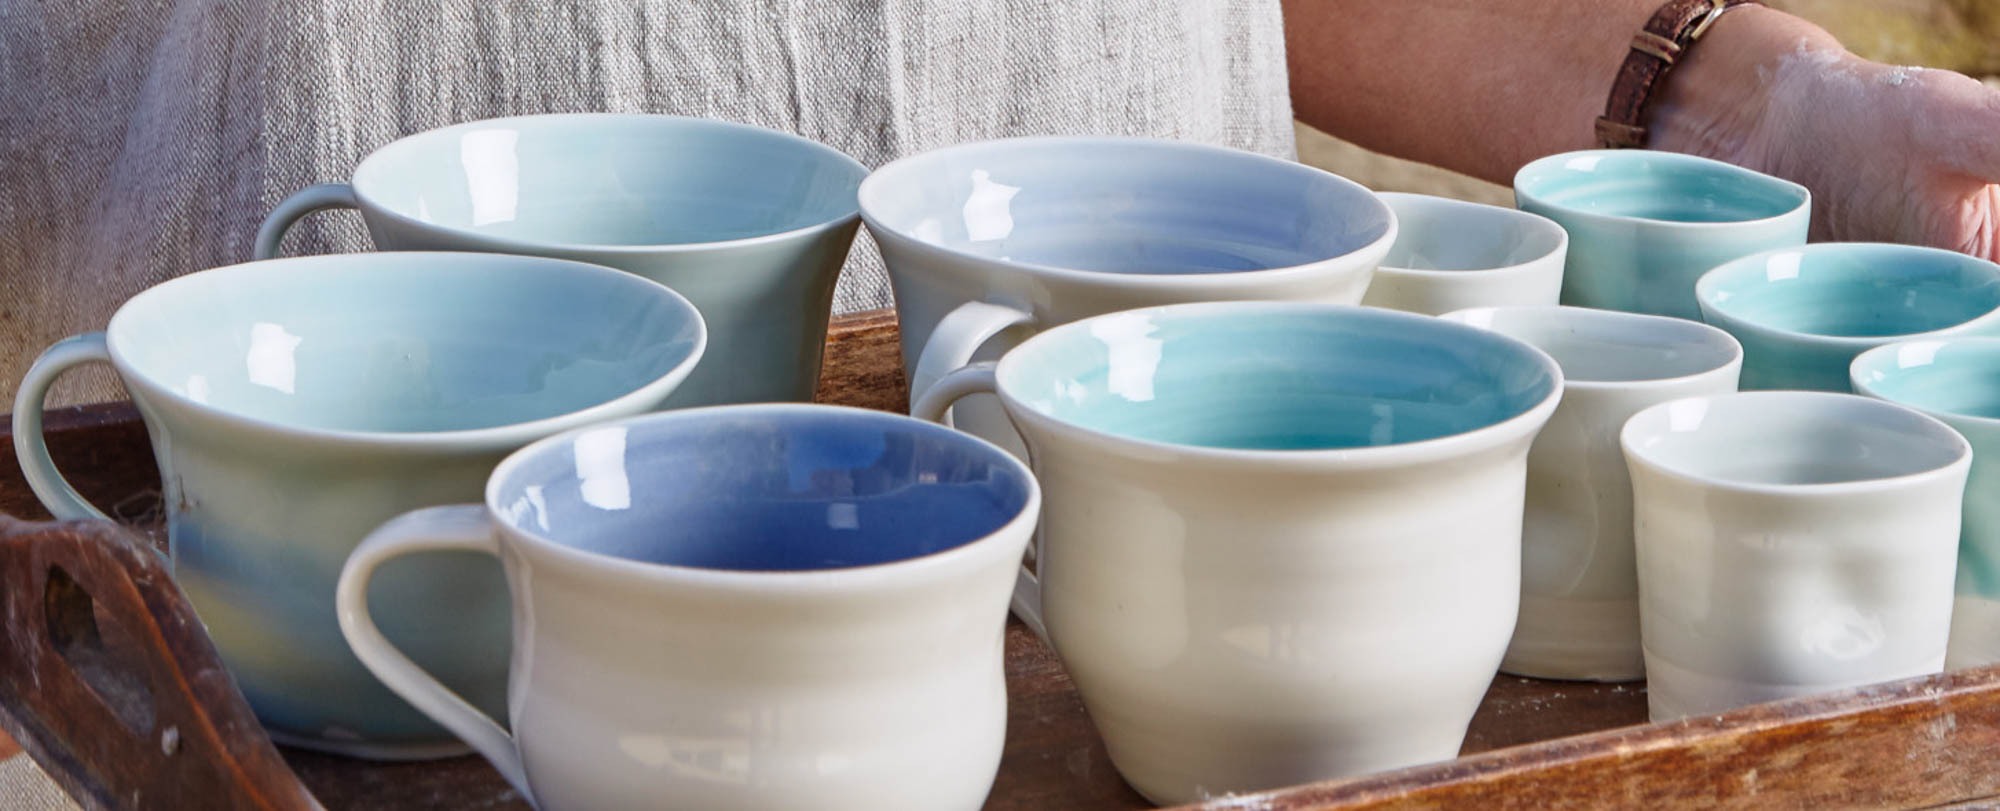
If nothing has exploded, nothing has cracked, the glaze hasn't run, the glaze hasn't bubbled, the colours are as you expected and nothing has stuck to the kiln shelf then you have a successful final firing!